What is Stable Diffusion Deforum?
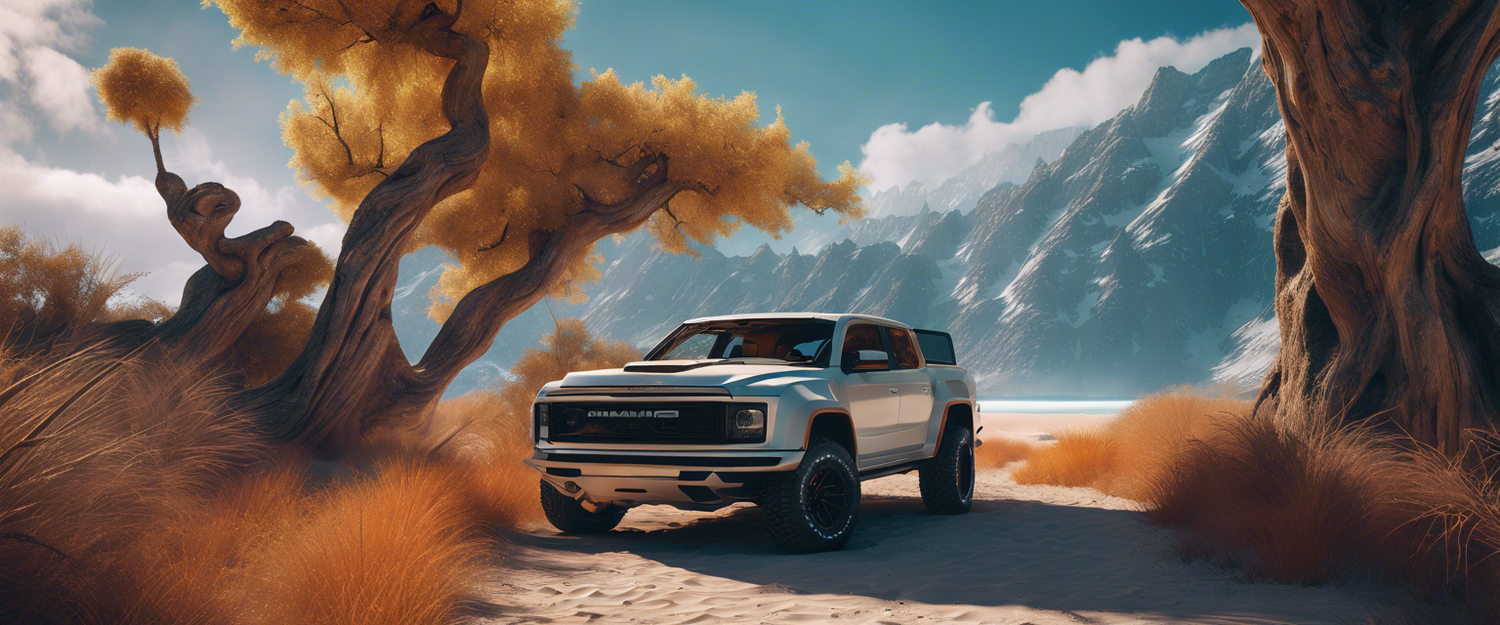
Deforum Stable Diffusion is a remarkable iteration of the original Stable Diffusion, tailored specifically for the creation of videos and dynamic image transitions. This open-source, community-driven tool empowers creators to generate stunning video content directly from text prompts, enhancing multimedia projects like music videos.
In this comprehensive tutorial, we will guide you through creating mesmerizing videos using the Stable Diffusion Deforum Google Colab notebook. By the end of this guide, you'll be able to tap into the power of AI and your imagination to produce captivating visual content. Let’s jump in!
Setting up Your Account
To embark on your journey with Stable Diffusion Deforum, you'll need the following:
- A Google account with at least 6 GB of free space on Google Drive
- A Hugging Face account
- A computer (no special hardware required)
- Stable internet access
Once ready, follow these steps to set up your environment:
Copying Deforum to Your Google Drive
Navigate to the Deforum Stable Diffusion v0.5 page and use the provided link to copy it to your Google Drive. This will redirect you to the Colab notebook you've just copied. Close the original notebook as it won’t be used again.
Connecting to an External GPU
After accessing Google Colab, you'll need to link to an NVIDIA GPU for processing. Google Colab offers free credits which refresh every few days. Once connected, grant access to your Google Drive, as access is necessary for saving your projects. This will create two folders in your Google Drive: ai/models for storing models and ai/stablediffusion for storing generated images.
Setting Up Your Environment
To configure your environment, execute the initial setup code snippets in the Colab notebook. You'll be prompted for your Hugging Face username and token, which is necessary to download various models and configurations.
Creating Your Animation
Now for the fun part! Within the Colab notebook, you'll begin adjusting the animation settings:
Animation Settings Overview
Animation settings can seem daunting, but we'll simplify them:
- 2D Animation: Utilizes only angle and zoom settings.
- 3D Animation: Incorporates translation and rotation parameters.
- Max Frames: Determines the total frames generated. For instance, for a 10-second video at 24 frames per second, set this to 240.
- Border Settings: Choose between 'Wrap' (pull pixels from opposite edges) or 'Replicate' (repeat edge pixels).
Motion Parameters
Adjust the angle and zoom for 2D animations or translation and rotation for 3D animations. Setting initial values and gradual shifts over frames can create dynamic effects. Here’s a brief explanation:
- Angle: Default value is 0; adjust for rotation.
- Zoom: Default value is 1; capping below 1 zooms out, and above 1 zooms in.
Experiment! Start small and gradually increase your values to see how they affect the output.
Enhancing Visual Quality
Additional parameters like noise_schedule can add grain for a more diverse look, while strength_schedule controls how different the next frame is from the previous.
Prompts and Final Settings
Prompts define what appears in your animations. Use detailed descriptions to enhance the visuals. When setting multiple prompts, format them like this: frame_number: your_prompt to create sequential effects.
Check your image settings, adjust the batch name for file organization, and set your sampling parameters. When satisfied, click to generate your images!
Creating the Final Video
Generated sequences will only be visual frames. To compile them into a video, use video editing software like DaVinci Resolve 18. Simply import the images, arrange them in sequence, and render your video.
Tips for Success
As a parting note, successful video creation relies on intuition. Pay attention to the flow of your animations and how they sync with audio elements. For enhanced video quality, consider upscaling your images using tools like chaiNNer.
Embrace Your Creativity!
This guide has equipped you with the foundational knowledge to experiment with your artistic vision. Embrace the synergy of AI and creativity, and don't hesitate to explore various style influences in your animations.
We invite you to share your creations on social platforms and engage in the vibrant community ready to support your artistic journey.
Transform your ideas into dynamic videos, and let your imagination soar!


Leave a comment
All comments are moderated before being published.
Trang web này được bảo vệ bằng hCaptcha. Ngoài ra, cũng áp dụng Chính sách quyền riêng tư và Điều khoản dịch vụ của hCaptcha.