Introduction
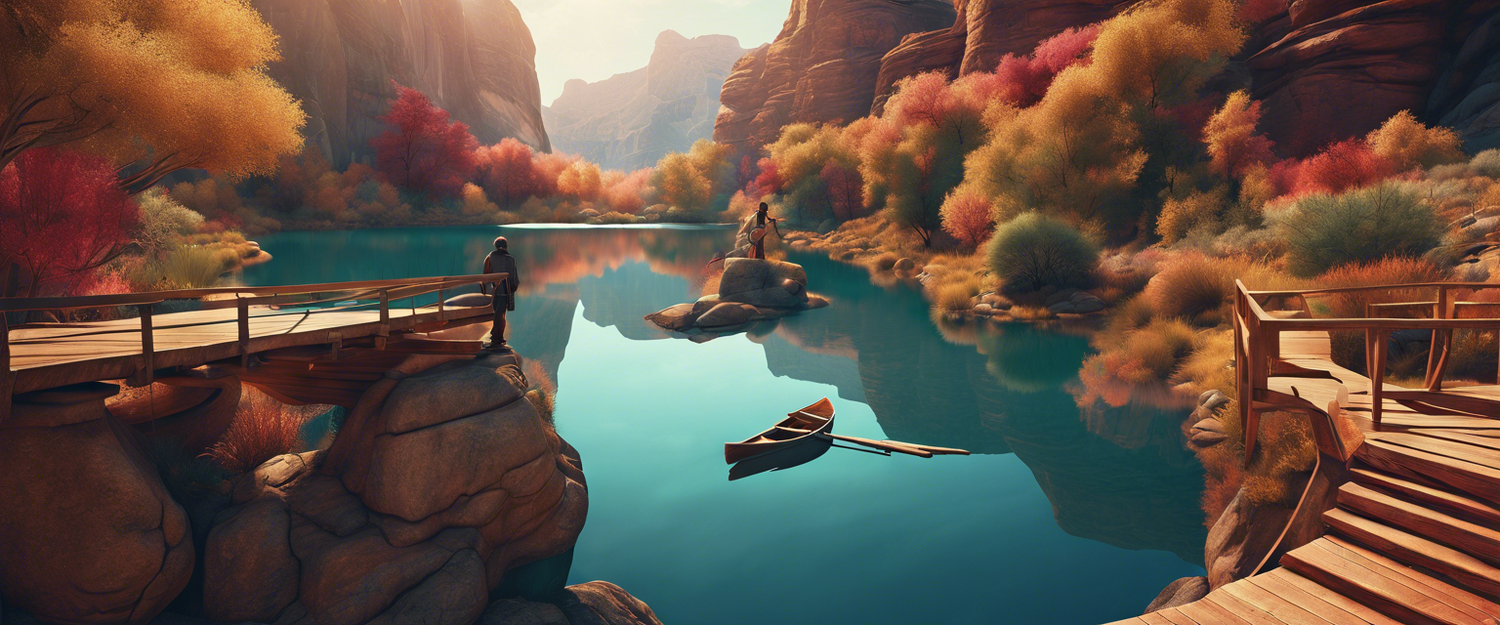
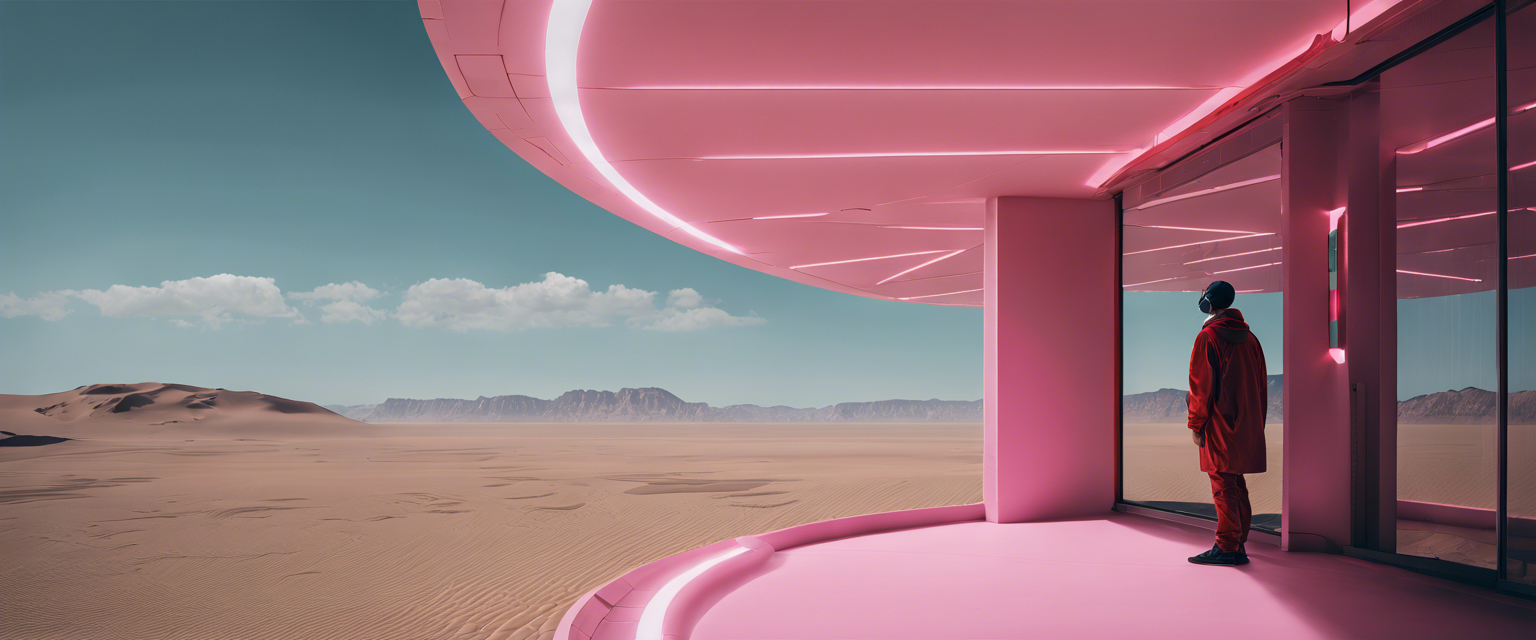
Imagen by Vertex AI is a powerful text-to-image generation tool that not only allows users to create images but also offers capabilities for editing and analyzing those images. This tool opens up a world of creativity by enabling various functionalities to transform ideas into visual representations.
Generating Images
Users can generate images by providing a creative prompt. For instance, if you want to see an image of a cat wearing a hat, simply input that request and let Imagen work its magic.
Editing Images
Beyond just creation, Imagen also allows for image editing. Users can either modify generated images or upload their own, giving them the freedom to adjust the artwork to their liking. Key editing features include:
- Changing the background
- Adding descriptive text
- Adjusting the color or material of a hat
- Changing the color or texture of a cat’s fur
Analyzing Images
Imagen offers analytical capabilities as well. You can generate captions for images or ask specific questions about their content. For example, users can inquire:
- What is depicted in the image?
- What color is the hat?
- What material is the hat made from?
- What is the mood of the cat?
Prerequisites
To utilize Imagen by Vertex AI, it's necessary to REQUEST ACCESS. Simply fill out the access form, and you’re ready to start. If you don't already have a Google Cloud account, you can create one for free. For guidance, refer to the Chirp Tutorial, which outlines the steps to establish a Google Cloud account and create a new project, including a bucket.
Time to Dive In!
Let’s delve into how to get started with Imagen. Screenshots will be included for a more convenient and comprehensible experience.
Setting up Your Google Cloud Console
If you have already created your account and set up your project, navigate to the Google Cloud Console.
1. Click on the burger menu on the top left corner.
2. Select APIs & Services > Library.
3. Search for Vertex AI API, select the first result—Vision AI API—and click the Enable button.
4. You will be redirected to the main page, and you may leave all settings as default.
Accessing Vertex AI
1. Open the burger menu again and select Vertex AI > Vision.
You will see the main page of Vertex AI Vision, where you can generate images, perform edits, create captions, and ask questions about any image.
Generating Images
To generate images:
1. Click the GENERATE button.
2. In the textarea provided, enter your desired prompt.
3. Click the GENERATE button again.
You can generate multiple images by clicking the GENERATE button repeatedly. Additionally, images can be edited by clicking the EDIT button, where you can alter the artwork as per your imagination.
Editing Images
Now's the time to play with edits! Click the EDIT button and unleash your creativity. For example, you might want to simply extract the background. Feel free to explore and experiment with the editing features available.
Analyzing Images
To analyze images, you can generate captions and ask questions:
1. Click the CAPTION button and upload the image for which you want a caption.
2. Click GENERATE CAPTION.
3. For questions, click the VISUAL Q&A button and pose any queries you might have about the image.
Options are flexible. You can change the number of answers, captions, and generated images using the slider on the right side.
Conclusion
This tutorial provided visual guidance to enhance your understanding of Imagen by Vertex AI and its multifaceted capabilities. By following these steps, you should now be well-equipped to utilize this innovative tool effectively. Thank you for joining this journey into the world of image generation and editing!


Lasă un comentariu
Toate comentariile sunt moderate înainte de a fi publicate.
Acest site este protejat de hCaptcha și hCaptcha. Se aplică Politica de confidențialitate și Condițiile de furnizare a serviciului.