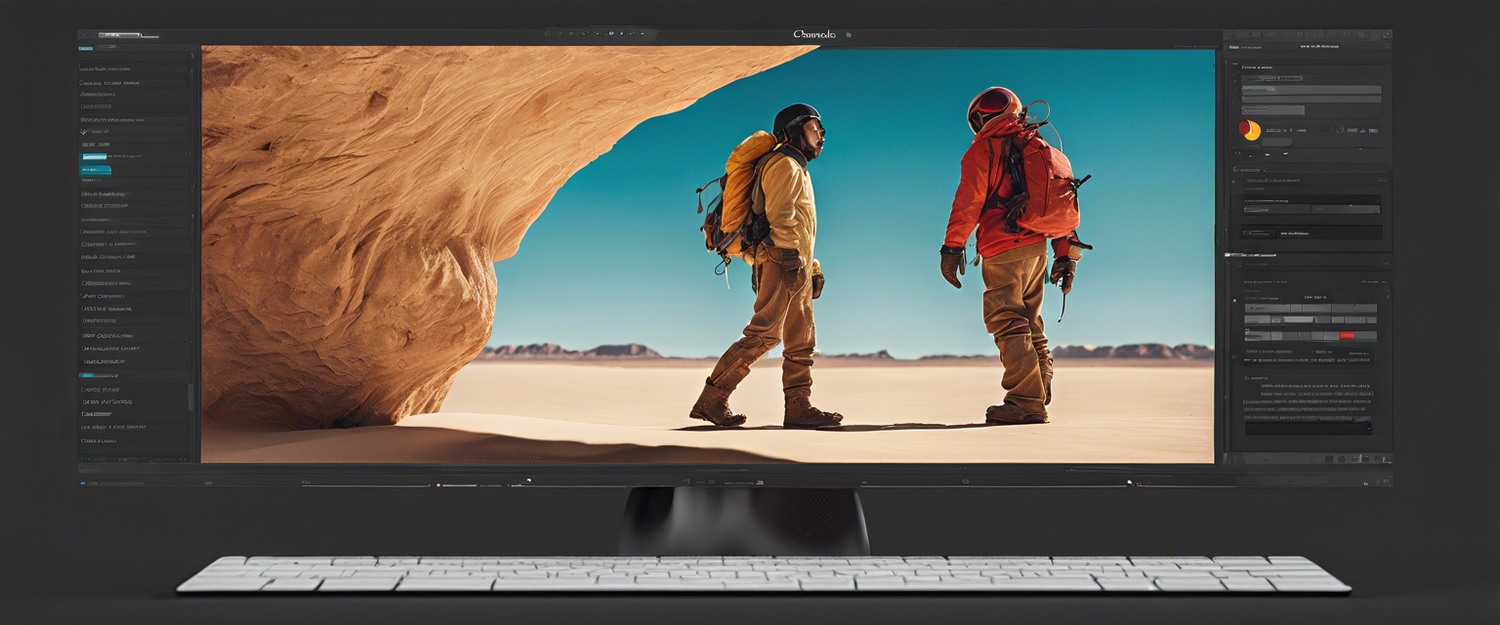
What is Stable Diffusion?
Stable Diffusion is a revolutionary deep learning tool that has transformed the realm of image generation since its release in 2022. It operates as a text-to-image diffusion model capable of creating stunning visuals based on textual descriptions. Beyond simple image creation, Stable Diffusion has a wide array of functionalities including inpainting, outpainting, and even image-to-image translations, all guided by specific text prompts.
Getting Started with Stable Diffusion Web UI Locally
If you’re eager to experiment with Stable Diffusion, the Stable Diffusion Web Interface developed by GitHub user AUTOMATIC1111 enables users to test the model locally. Built on the Gradio framework, this interface simplifies the interaction with the model, allowing for a more streamlined testing and validation process.
Features of the Web Interface
- Original Modes: txt2img and img2img.
- Easy Installation: One-click install and run script (Note: Python and Git must still be installed).
- Outpainting & Inpainting: Expand or modify images effectively.
- Color Sketch & Prompt Matrix: Create variations and explore different artistic styles.
- Stable Diffusion Upscale: Enhance image resolution.
- Attention Mechanism: Specify text parts for more focused model attention.
- Extras Tab: Features like GFPGAN for face fixes, CodeFormer for face restoration, and various upscalers like RealESRGAN.
- Aspect Ratio Resizing: Flexible sizing options for different image formats.
- Random Artist Button: Generate diverse artistic interpretations of prompts.
- Styles & Variations: Save and apply parts of prompts easily.
How to Use the Web Interface?
For Windows Users:
- Download and install Python 3.10.6, ensuring to check the "Add Python to PATH" option.
- Install git.
- Clone the repository by running:
git clone https://github.com/AUTOMATIC1111/stable-diffusion-webui.git. - Place
model.ckptin the models directory based on your dependencies. -
(Optional) Place
GFPGANv1.4.pthin the base directory wherewebui.pyis located. - Run
webui-user.batfrom Windows Explorer with standard user permissions.
For Linux Users:
- Install necessary dependencies using package managers.
- Set the installation path to
/home/$(whoami)/stable-diffusion-webui/.
For Apple Silicon Users:
- Refer to the specific instructions provided in the GitHub repository.
Maximizing Your Experience with Stable Diffusion Prompts
To achieve optimal results when generating images using Stable Diffusion, it’s highly recommended to read our comprehensive guide on crafting effective prompts. If you’re interested in developing your own Stable Diffusion-based projects, consider participating in our Stable Diffusion AI Hackathon to explore innovative ideas and collaborations!


コメントを書く
全てのコメントは、掲載前にモデレートされます
このサイトはhCaptchaによって保護されており、hCaptchaプライバシーポリシーおよび利用規約が適用されます。