How to Create a Disney Pixar Style Avatar Using Stable Diffusion
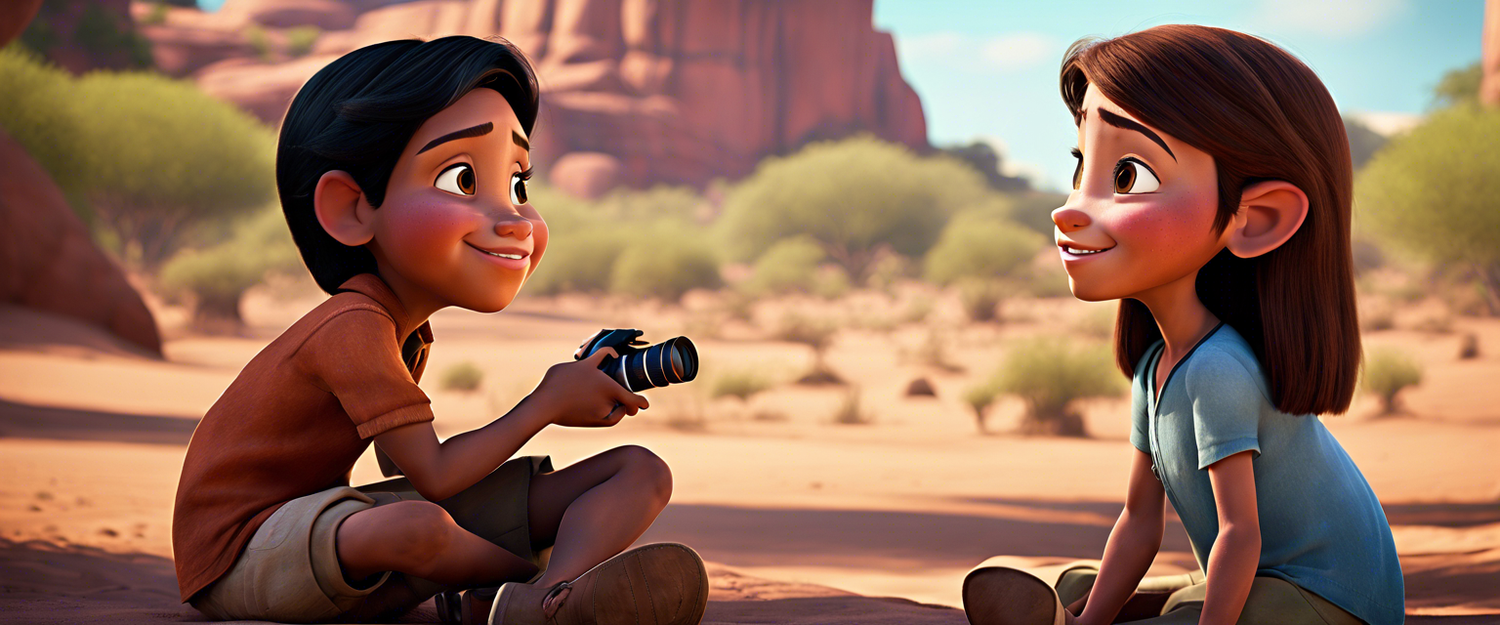
Have you ever wondered how an animated version of yourself might look? With Stable Diffusion, you don’t need to wonder anymore. You can create a Disney Pixar style avatar of yourself using some simple text input. If you are new to Stable Diffusion, check out our tutorial and explanation here.
Getting Started with Stable Diffusion
Before diving into creating your animated avatar, let's first go through the basic requirements you'll need:
- Nvidia GPU with at least 4GB of VRAM
- Stable Diffusion Web UI - Download from Github
- Stable Diffusion 1.5 checkpoint file
- A portrait of yourself or any other image to use
Setting Up the Environment
Follow these steps to set up your local environment for the project:
Step 1: Extract Stable Diffusion Project
First, download the Stable Diffusion Web UI project to your local disk. You can either clone the Github repository or download the project as a ZIP file and unzip it into a folder on your local disk. Your file and folder structure should look like this:
Stable Diffusion Project/
 ├── models/
 └── webui-user.bat
Step 2: Add the Stable Diffusion Checkpoint File
Next, move the stable diffusion checkpoint file, which you downloaded from Hugging Face, into the models/stable-diffusion folder. Once the file is copied, rename it to model.chkpt.
Step 3: Run the Web UI
With everything set up, it’s time to launch the Stable Diffusion Web UI. To do this, run the webui-user.bat file in the Stable Diffusion project folder. Before that, modify the webui-user.bat file with your local Python installation. Use any text editor to make the necessary changes.
After editing, double-click the file to run it! Open your Chrome browser and go to http://127.0.0.1:7860 to launch the Gradio UI.
Step 4: Generating the Image
Navigate to the img2img tab, where you can drag and drop a photo of your choice. Adjust the settings according to your PC hardware. If you have a good graphics card (like an Nvidia RTX3060), you can increase the resolution to at least 1024x1024.
If you are using a picture of yourself, try the following text input prompt:
"Pixar, Disney character, 3D render, high quality, smooth render, a girl wearing glasses, black T-shirt, cute smile"
Additionally, the CFG (Classifier Free Guidance) scale and Denoising strength significantly affect the final results. Here are a few tips to optimize your settings:
- Increasing the Denoising value creates a result that looks less like your original image.
- A higher CFG scale makes the model follow your instructions more strictly, though this can lead to a few anomalies.
In this case, the most suitable values for the Denoising strength parameter were 0.7 and a CFG scale of 11.0. Compare the final result with the original photo to see the transformation.
Final Thoughts
And that’s all there is to creating a Disney Pixar styled avatar of yourself using Stable Diffusion! I encourage you to experiment with the settings and use different reference images to explore various results.
If you're interested in learning more about Stable Diffusion and other advanced AI models, take a look at the other tutorials available at Lablab.ai. You can also join the conversations in the Lablab.ai community on our Discord channel.
Subscribe to the Nextgrid YouTube channel for useful information about upcoming AI Hackathons and insightful interviews with industry experts.
I hope you enjoyed this tutorial and look forward to your creativity with new and unique images!


Commenta
Nota che i commenti devono essere approvati prima di essere pubblicati.
Questo sito è protetto da hCaptcha e applica le Norme sulla privacy e i Termini di servizio di hCaptcha.