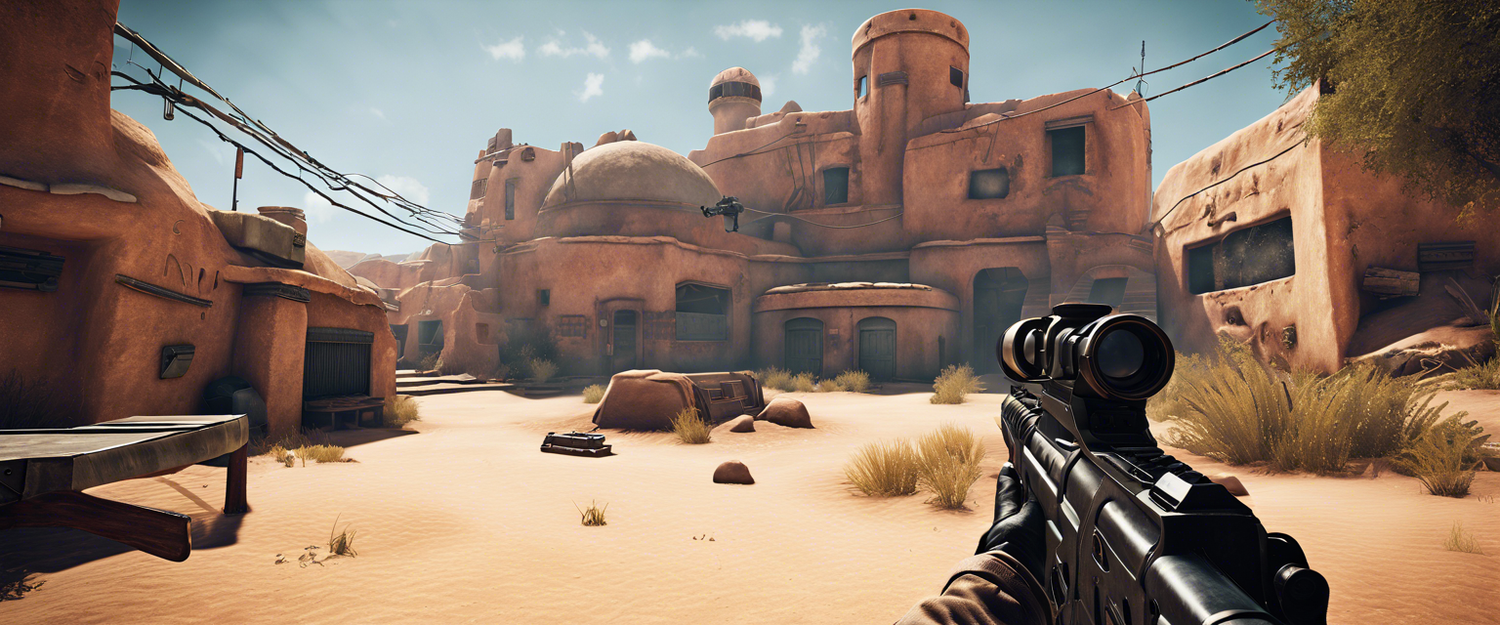
Create a First-Person Shooter Game Using Pygame
Creating an immersive first-person shooter (FPS) game can be a rewarding experience for developers. This tutorial will guide you through designing a simple FPS game using Pygame, with features such as challenging levels, power-ups, and advanced AI enemies.
Table of Contents
- Installation of Pygame
- Creating a Pygame Window
- Loading Images in Pygame
- Adding Background Music
- Creating a Player Character Sprite
- Creating a Power-Up Sprite
- Creating an AI Enemy Sprite
- Conclusion
1. Installation of Pygame
To begin, ensure that you have the Pygame library installed. You can do this by opening your command prompt or terminal and executing:
pip install pygame2. Creating a Pygame Window
Next, we will create a new Pygame window by initializing Pygame and setting the width and height:
import pygame

pygame.init()
width, height = 800, 600
window = pygame.display.set_mode((width, height))
pygame.display.set_caption('My Pygame Window')
3. Loading Images in Pygame
To enhance the game visually, load image files for the player character and other elements:
player_image_path = 'path/to/player.png'
player_image = pygame.image.load(player_image_path)
4. Adding Background Music
Adding audio can greatly enhance the gaming experience. Here’s how to load and play background music:
music_path = 'path/to/music.mp3'
pygame.mixer.music.load(music_path)
pygame.mixer.music.play(-1)
5. Creating a Player Character Sprite
The player character sprite can be created by defining a class:
class Player(pygame.sprite.Sprite):
    def __init__(self):
        super().__init__()
        self.image = player_image
        self.rect = self.image.get_rect(center=(width // 2, height // 2))
6. Creating a Power-Up Sprite
Create power-ups that the player can collect to increase their score:
class Powerup(pygame.sprite.Sprite):
    def __init__(self):
        super().__init__()
        self.image = powerup_image
        self.rect = self.image.get_rect(center=(400, 300))
7. Creating an AI Enemy Sprite
Advanced AI enemies will create challenges for the player. Here’s how you can implement a simple enemy sprite that chases the player:
class Enemy(pygame.sprite.Sprite):
    def __init__(self, player):
        super().__init__()
        self.image = enemy_image
        self.rect = self.image.get_rect(center=(100, 100))
        self.player = player

    def update(self):
        if self.rect.x < self.player.rect.x:
            self.rect.x += 1
        elif self.rect.x > self.player.rect.x:
            self.rect.x -= 1
        if self.rect.y < self.player.rect.y:
            self.rect.y += 1
        elif self.rect.y > self.player.rect.y:
            self.rect.y -= 1
Conclusion
With these elements integrated into your Pygame project, you can start building broader functionalities such as level designs, score tracking, and more complex AI behavior. Pygame allows for a plethora of possibilities to create engaging FPS experiences.
For further information and detailed walkthroughs, you can check the Pygame documentation.
Remember that game development is an iterative process. Develop, test, and refine your game to create an engaging experience for players!


Leave a comment
All comments are moderated before being published.
यह साइट hCaptcha से सुरक्षित है और hCaptcha से जुड़ी गोपनीयता नीति और सेवा की शर्तें लागू होती हैं.