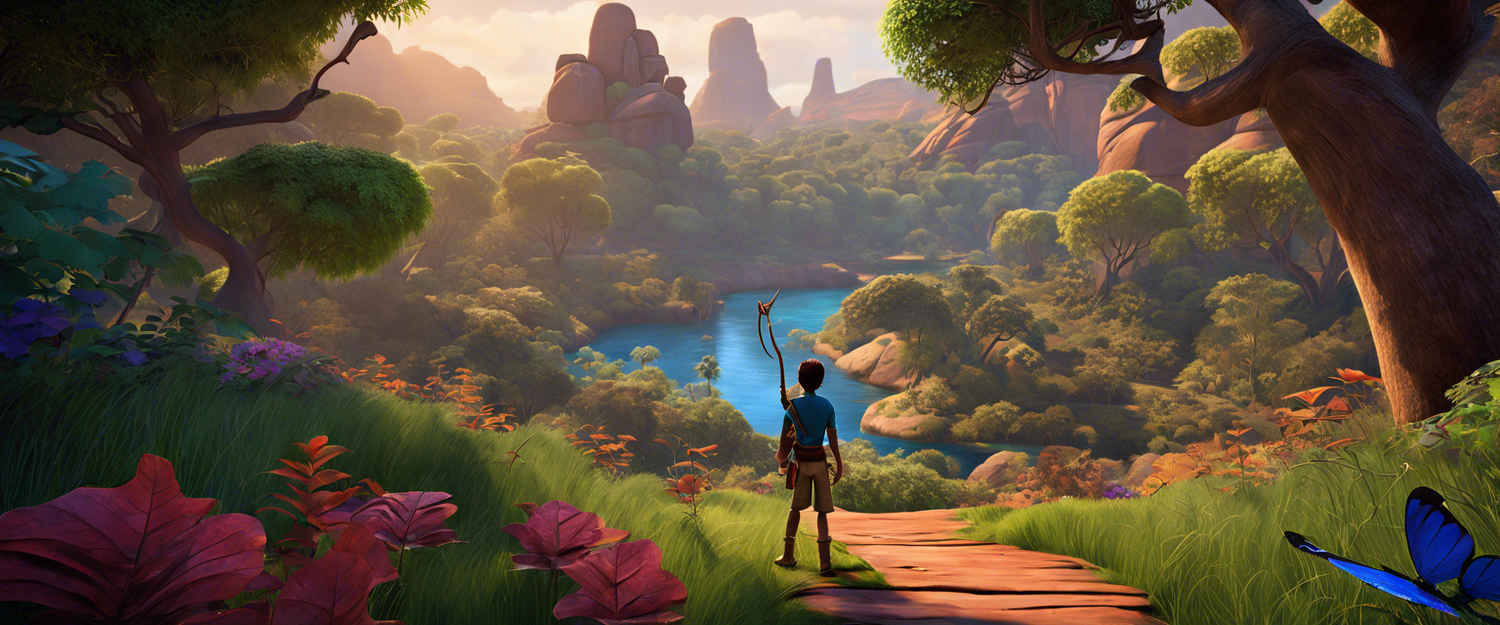
How to Create Your Own Disney Pixar Style Avatar Using Stable Diffusion
Have you ever wondered how an animated version of yourself might look? With Stable Diffusion, you don't need to wonder anymore. Instead, you can create a stunning Disney Pixar style avatar of yourself using some simple text input. This guide will walk you through the steps to make your very own animated character.
Getting Started with Stable Diffusion
Before we dive into creating your avatar, make sure you have the following basic requirements:
- Nvidia GPU with at least 4GB of VRAM
- Stable Diffusion Web UI - Download from GitHub
- Stable Diffusion 1.5 checkpoint file
- A portrait of yourself or any other image to use
Setting Up Your Environment
Follow these steps to set up your local environment:
Step 1: Extract Stable Diffusion Project
Download the Stable Diffusion Web UI project to your local disk. You can either clone the GitHub repository or download the project as a ZIP file and unzip it into a folder on your local disk. Make sure your file and folder structure looks correct.
Step 2: Adding the Checkpoint File
Move the Stable Diffusion checkpoint file (downloaded from Hugging Face) into the models/stable-diffusion folder. Once copied, rename the file to model.chkpt.
Step 3: Launching the WebUI
Now, you are ready to launch the Stable Diffusion Web UI. Run the webui-user.bat in the Stable Diffusion project folder. Before running it, modify the webui-user.bat file to reference your local Python installation. You can edit it with Notepad or any text editor.
Step 4: Generating Your Image
Now that you have everything set up, it's time to generate your animated avatar! Open your Chrome browser and navigate to http://127.0.0.1:7860. This will launch the Gradio UI where you can start experimenting.
Under the img2img tab, drag and drop a photo of yourself and adjust the settings to match your hardware capabilities. If you have a powerful graphics card, you can increase the resolution up to at least 1024x1024.
For reference, here is a sample text input prompt you can use:
"Pixar, Disney character, 3D render, high quality, smooth render, a girl wearing glasses, black T-shirt, cute smile"
Remember that parameters such as the CFG (Classifier Free Guidance) scale and Denoising strength can greatly affect your results:
- Increasing the Denoising value results in a generated image that looks less like your original photo.
- A higher CFG scale means that Stable Diffusion follows the prompt more strictly, which may sometimes lead to unexpected anomalies.
Based on experimentation, ideal values for Denoise strength are around 0.7 and a CFG scale of 11.0.
Final Thoughts
And that's all there is to creating a Disney Pixar styled avatar of yourself using Stable Diffusion! I encourage you to experiment with different settings and reference images to see the variety of outcomes you can achieve.
To delve deeper into the world of Stable Diffusion and discover other advanced AI models, check out more tutorials available at Lablab.ai. Additionally, feel free to join the Lablab.ai Discord channel to connect with like-minded individuals.
For further insights into AI, subscribe to the Nextgrid YouTube channel, where you can find valuable information about upcoming AI Hackathons and interviews with industry-leading experts.
Happy creating!


Leave a comment
All comments are moderated before being published.
This site is protected by hCaptcha and the hCaptcha Privacy Policy and Terms of Service apply.